You carry the telescope outside, point it at Jupiter, and there it sits: a pale disc with two smeared chocolate stripes where the belts should be. Saturn's rings arrive, but they look as though they were drawn in chalk on wet paper. Nothing is crisp. The natural conclusion is that the optics are a disappointment.
Almost every time, they are not. A telescope is a chain of small adjustments, and one loose link spreads damage through the entire image. The usual causes of a soft view are cheap to fix, easy to diagnose at the eyepiece, and rarely have anything to do with the quality of the glass. Before you begin, run one quick test: look at the Moon or a bright star. If those are soft too, the problem sits in the tube, the mount, or the sky above you — not in the object you were trying to see.
1. Focus is a finer adjustment than you think
Focus is the first suspect because it is the easiest thing to get nearly right. A rack-and-pinion focuser that is slightly loose will creep under the weight of a heavy eyepiece: you focus, let go, and the image slides away. Tighten the tension screw until the drawtube holds position without feeling stiff, and if your focuser has a lock, use it.
Then check the seating. An eyepiece that is a millimetre shy of fully inserted will never come to focus cleanly, and neither will a star diagonal that is only half pushed into the visual back. Loosen the thumbscrew, drop the accessory in until it stops, and snug it down. Newtonian owners with cameras or certain long eyepieces may need an extension tube to reach focus at all — if the image shrinks as you wind the focuser all the way out and then stops improving, that is your answer.
Two habits worth adopting: focus on a star first, because a point of light gives you an unambiguous target, then swing to the planet; and always approach focus from the same direction, winding past the sharp point and coming back to it, which takes up the slack in the mechanism. If you use a zoom eyepiece, refocus after every change of focal length. "Parfocal" is a hope, not a promise.
2. Collimation: the alignment you cannot skip
In a Newtonian, the primary and secondary mirrors must point at each other with real precision, and a mirror that has been bumped in the car will show it. The symptom is subtle at low power and brutal at high power: stars that look like little comets, with a bright flare pointing the same way across the whole field.
Adjust the secondary first, then the primary, using a Cheshire eyepiece or a laser collimator, and finish with a star test. Centre a bright star at high magnification, defocus it slightly until you see a ring pattern, and check that the rings are concentric. A lopsided doughnut with the rings bunched on one side means the optics are still out. Make small turns — an eighth of a turn at a time — and re-check after each one.
Schmidt-Cassegrain owners have it easier: three screws on the secondary holder, adjusted in tiny increments while watching a centred star. Refractors rarely need collimation at all, though it is worth checking that the objective cell has not worked loose. Practise in daylight the first time. Learning which screw does what in the dark, at minus two degrees, is a miserable way to spend an evening.
3. Let the glass and the mirror reach the outside temperature
A mirror holds warmth long after sunset, and the air inside the tube curls as it sheds that heat. The result is an image that looks like it is being viewed through a pot of simmering water — soft, shimmering, and stubbornly unwilling to sharpen no matter how carefully you focus.
Storage is the fix. A scope kept in a warm living room needs far longer to settle than one kept in a garage, shed, or unheated room. A small refractor may be ready in fifteen or twenty minutes; a larger mirror can take an hour or more on a mild night. Set the telescope out before dinner, not after. A cooling fan on a Newtonian shortens the wait considerably, and pointing the tube at the sky rather than at the ground helps too. Do not wrap a big mirror in blankets to keep it warm — that is exactly backwards.
4. Dew, fog, and the quiet thief
Dew does not announce itself. The view simply gets softer over half an hour, stars acquire fuzzy halos, and contrast drains away. Shine a red torch across the corrector plate or objective at a shallow angle and you will see the dull film. Eyepieces fog too, especially after a few minutes of close breathing.
Prevention works better than cure:
- Fit a dew shield — a simple tube extending past the objective delays dew formation by a surprising margin.
- Add a heater strip with a controller for corrector plates and objectives in humid climates; run it just warm enough to keep the glass clear.
- Keep eyepieces in a closed case with a desiccant pack, and swap them quickly.
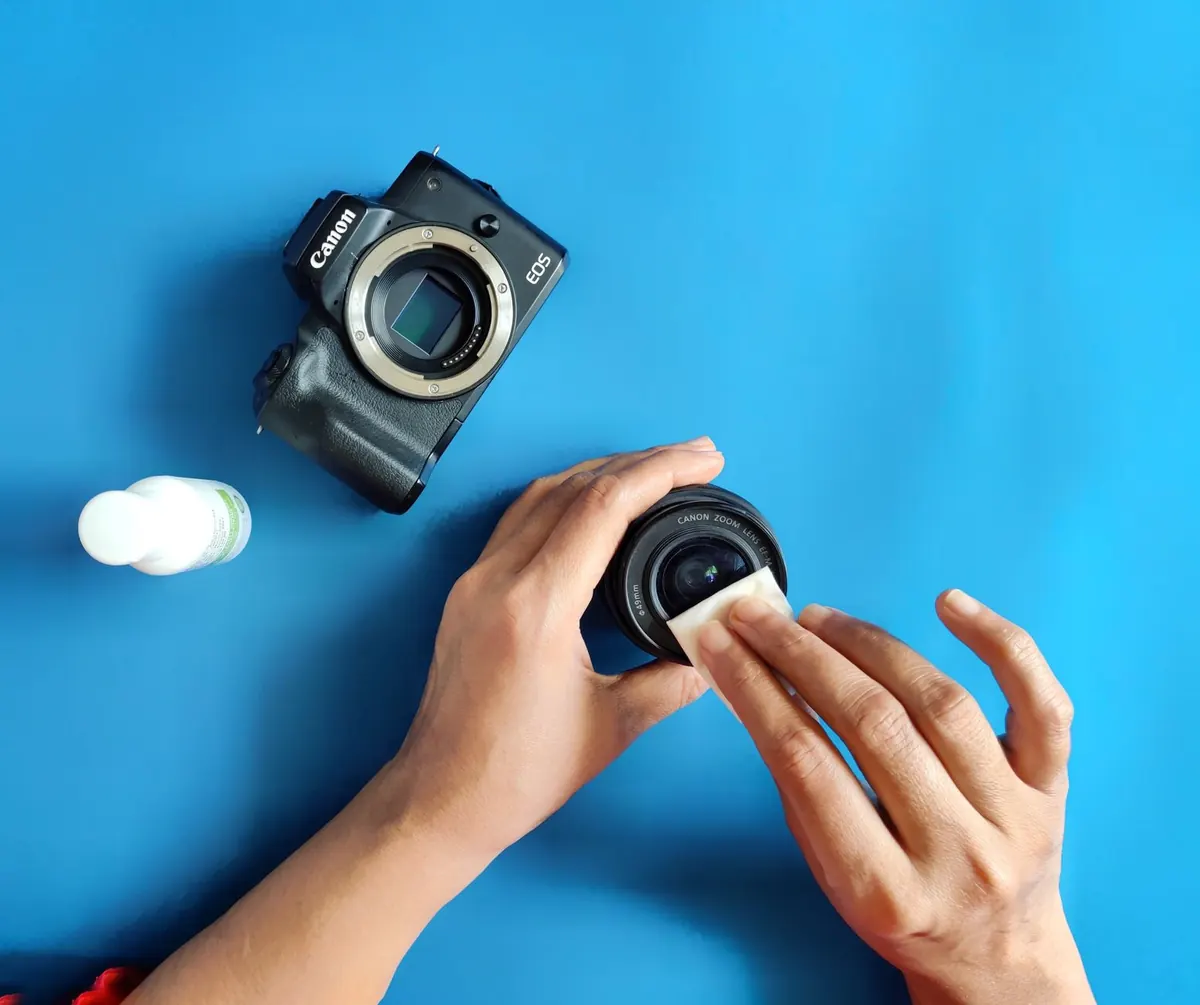
- Never wipe a lens with a sleeve or a tissue. Moisture plus grit plus friction is how coatings get scratched.
If dew has already formed, stop observing and let the optics dry indoors at room temperature. Chasing a dewed image is wasted time.
5. Vibration you stopped noticing
Tap the tube gently with a fingertip. If the image settles within about a second, the mount is doing its job. If it wobbles for two or three seconds, you are losing detail on every gust of wind, every touch of the focus knob, and every heartbeat transmitted through the ground.
Extend the tripod legs before the centre column; a raised column is a tuning fork. Set up on grass or solid concrete rather than a wooden deck or a balcony that flexes. Hang a bag with a water bottle from the hook under the mount to lower the centre of gravity. Check that the leg clamps and the dovetail are genuinely tight, and that the focuser drawtube has no play. Wind is the other half of this: a light breeze that you barely notice at ground level will ruin a high-power view, so set up behind a wall, a hedge, or the lee side of a building.
6. Magnification beyond what the night allows
More magnification does not create more detail. It enlarges whatever the optics and the atmosphere have already delivered, blur included. A useful ceiling under excellent skies is roughly twice the aperture in millimetres — about 50x per inch — and on an average night many scopes never get near it.
Watch the exit pupil, which is simply aperture divided by magnification. Below about 0.7 mm the image dims quickly and floaters in your own eye start to dominate. The practical method is to start low, find the object, then step up through your eyepieces until detail stops improving. When it does, go back one step. That is the magnification the night is offering, and the view will be sharper and more comfortable than the empty enlargement above it.
7. The sky, and what you are looking across
Seeing is the steadiness of the air; transparency is its clarity. A star twinkling violently near the horizon tells you the seeing is poor, which hurts planets and double stars badly while deep-sky objects tolerate it better. Haze, moonlight, and thin cloud are transparency problems and flatten everything.
Position matters as much as weather. Looking over a rooftop, an asphalt car park, a chimney, or a neighbour's heating vent puts a plume of warm air directly in your line of sight. Grass, water, and woodland are kinder. Keep targets above roughly 30 degrees of altitude where you can, and if you have the patience, observe in the small hours when the ground has stopped releasing the day's heat.
A ten-minute diagnostic routine
Next time the view disappoints, work through this in order rather than guessing:
- Seat the eyepiece and diagonal fully; check the focuser tension.
- Focus on a bright star, then move to your target.
- Tap the tube and time how long the image takes to settle.
- Defocus a star at high power and check that the rings are concentric.
- Look at the Moon's limb. Crisp or fuzzy? That separates the scope from the sky.
- Check for dew on the objective, corrector, and eyepiece.
- Drop one magnification step and see whether the view improves.
Most soft views are one of these seven, and the cheapest fixes come first: seating, focus, cooling, and a lower power. Change one thing at a time, note what helped, and you will gradually learn the personality of your own instrument — which eyepiece sits slightly proud, how long the mirror really needs, and which direction of sky is worth avoiding from your garden. That knowledge sharpens images more reliably than any accessory you can buy.
Photo: Alvaro Tejero / Pexels