There is a particular kind of guilt that arrives when you shine a flashlight down a telescope tube and see dust. The optics look terrible, and your first instinct is to wipe them clean. That instinct is usually the problem. A telescope is not a camera sensor or a windowpane; its surfaces are coated, often soft, and sometimes worth more than the rest of the instrument combined. Cleaning safely is less about finding a miracle cloth and more about doing very little, in the right order, only when it matters.
Most Optics Need Less Cleaning Than You Think
A few specks on a lens or mirror rarely affect the view. Dust is everywhere, and a telescope that lives in the real world will collect some. The light you care about passes through or reflects from the whole aperture, so a scattered particle mostly adds a tiny amount of glare, not a hole in the image. A fingerprint, a smear of dew residue, pollen, or a visible haze is different. Those can scatter light and degrade contrast, and oily marks can attract more dust.
The useful rule is simple: clean when the optic is visibly contaminated in a way that affects the image, not when a flashlight makes it look dusty. Inspect under ordinary room light first. If you need a torch, hold it at a low angle and accept that it exaggerates everything. Every wipe carries a small risk of dragging an abrasive particle across a coating. The best cleaning routine is the one you rarely need.
What to Use—and What to Leave in the Drawer
Keep a small, clean kit and keep it clean. A dusty brush or a gritty microfiber cloth is worse than no cleaning at all. Work on a clear table, wash your hands, and avoid cleaning near an open window, a kitchen, or anywhere with airborne grease and dust.
- A rubber blower bulb: the first tool for almost every job. It removes loose dust without touching the surface. Do not use canned air; it can spit propellant or cold liquid onto the optic.
- A soft optical brush: camel-hair or a dedicated lens brush. Keep the bristles covered when not in use and never touch them with your fingers.
- Optical-grade microfiber: clean, lint-free, and stored in a bag. Wash it without fabric softener if the maker allows it.
- Lens tissue: plain, optical-grade tissue, not facial tissue or paper towels. Use a fresh sheet for each pass.
- Purpose-made optical cleaning fluid: designed for coated glass. Apply it to the tissue, not the lens.
- Distilled water: useful for mirror rinsing and for dampening a tissue when a commercial cleaner is not appropriate.
- Clean gloves and a tray: nitrile gloves reduce fingerprints, and a tray stops small parts from rolling onto the floor.
Leave household glass cleaner, acetone, alcohol wipes, abrasive polishes, paper towels, spit, and “breath and sleeve” methods out of the process. These can attack coatings, leave residues, or drag grit. Cotton buds are tempting for eyepieces, but loose fibers and hard-to-control pressure make them a poor default; use proper optical swabs if you need a small tip.
A Safe Cleaning Workflow for Lenses
This applies to refractor objectives, corrector plates, eyepiece lenses, filters, finder lenses, and most glass surfaces in the optical path. The principle is the same: remove loose material first, then touch as little as possible.
- Blow first. Use short puffs from the blower while holding the optic at an angle so dust falls away. Work around the surface, not just the center.
- Brush lightly. With the brush barely touching the glass, sweep from the center outward. Lift the brush away rather than dragging dust back across the surface. If the brush looks dirty, stop and clean or replace it.
- Inspect again. If the remaining mark is a faint smudge, decide whether it is worth touching. A small speck at the edge is usually best left alone.
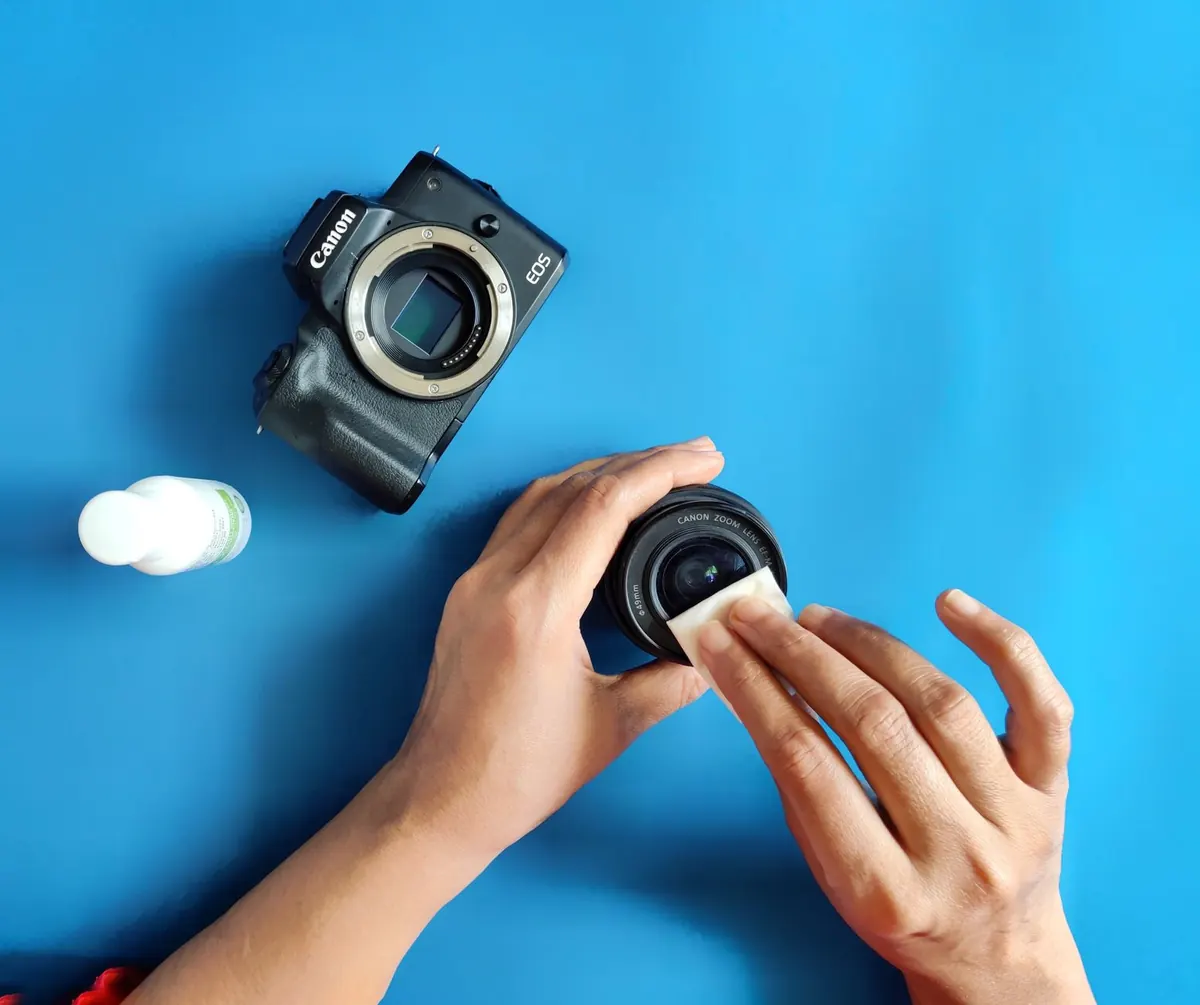
- Dampen a tissue, not the lens. Put one or two drops of optical cleaner on a fresh lens tissue. It should be damp, not wet. Excess fluid can wick into an eyepiece or under a cell.
- Wipe in one direction. Use very light pressure and a single pass, then turn the tissue or use a fresh one. Do not scrub in circles or press hard on a stubborn spot. If the mark remains, repeat with a fresh damp tissue after the surface dries.
- Finish dry if needed. A dry corner of the tissue or a clean microfiber can pick up a light residue. Then inspect under normal light and stop.
For a corrector plate on a Schmidt-Cassegrain or Maksutov, do not remove it for routine cleaning. Treat it like a large lens, keep fluid away from the edges, and accept that a few specks are normal. If a mark looks like fungus—fine webs or a spreading haze—get advice before you touch it.
Mirrors, Eyepieces, and Correctors: Adjust the Method
Newtonian and Dobsonian Mirrors
A little dust on a primary mirror is normal and usually harmless. Blow it off if you must, but do not wipe a dry mirror with a cloth. If the mirror is heavily contaminated, cleaning is a project rather than a quick chore: remove the mirror cell according to the manual, rinse with distilled water, use a mild dish soap only if needed, rinse again, and let it air dry. Never rub the coating. Reassembly usually means checking collimation afterward. If you are unsure, stop and ask a experienced observer or a repair shop.
Eyepieces
Clean the eye lens and the field lens, but do not disassemble the eyepiece. Blow, brush, then use a damp tissue or a proper optical swab with minimal fluid. Keep liquid away from the barrel edges, where it can seep inside. Clean the field lens less often than the eye lens; it usually stays protected inside the focuser.
Diagonals and Small Mirrors
Treat a star diagonal mirror like a mirror, not like a lens. Blow first, brush only if needed, and avoid dry wiping. A faint mark on a diagonal is often better tolerated than an aggressive cleaning session. Dielectric coatings are tough, but the surface can still be scratched by grit.
Common Mistakes That Scratch Coatings or Spread Dust
- Wiping before blowing. The first pass is the most dangerous because loose grit is still on the surface.
- Using canned air. Propellant spray and sudden cold can damage coatings or nearby plastic.
- Spraying cleaner directly on the optic. Fluid runs to the edges, leaves streaks, and can enter sealed assemblies.
- Reusing a dirty tissue or cloth. One gritty particle can leave a permanent trail.
- Cleaning outdoors or in wind. You are inviting new dust onto a wet surface.
- Overcleaning. Repeated wiping removes dust, then coating, then performance.
- Ignoring dirty caps and cases. A dusty lens cap puts dust back on the lens every time you use it.
A Practical Closing: Clean Less, Observe More
Check your optics in normal light, clean only when a mark is visible and likely to matter, and stop when the surface is good enough. Let dew dry naturally before capping the telescope, store optics dry, and keep caps and cases clean. A telescope is a tool for looking up, not a museum piece that must be sterile. A little dust is part of using it; a scratched coating is not. When in doubt, blow, brush, and wait.
Photo: Mohammad Yasir / Pexels